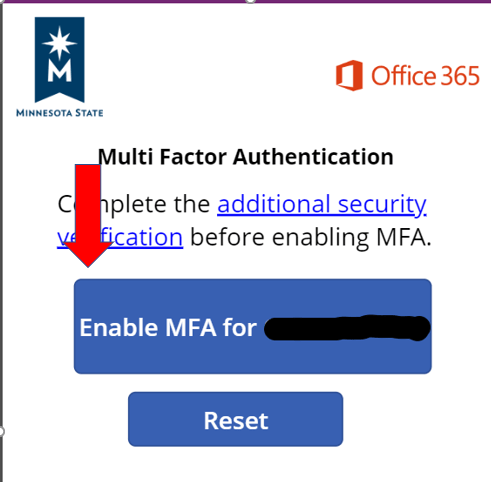
Office 365 Multi-Factor Authentication Enrollment on iPhone
Self enrollment for iOS Phones
Follow these steps to self enroll using an Apple smartphone
- On your iPhone, navigate to the App Store.
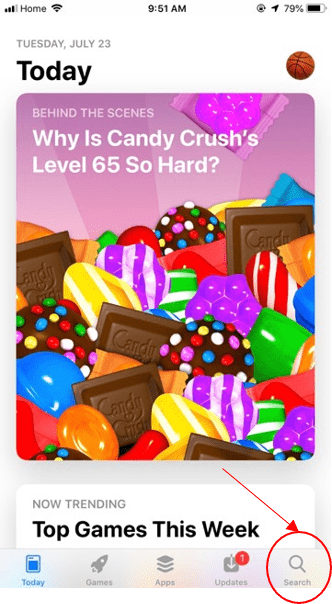
- Tap the search tab in the bottom right and search for Microsoft Authenticator.
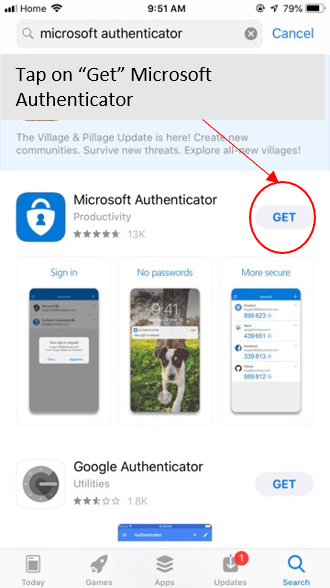
- Tap "Get" on the Microsoft Authenticator tile as shown below.
- Now you must sign in to the App Store with your fingerprint or Apple ID password. After the install is complete you can move on to the next steps
- Click to follow the link to self-enrollment.
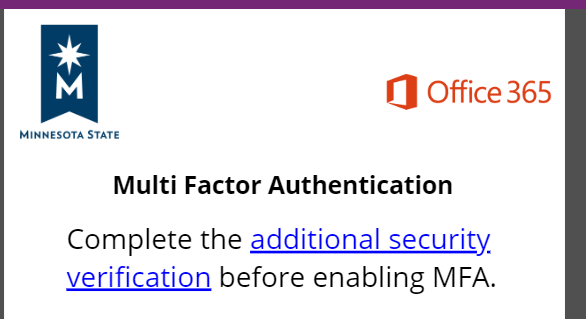
- Complete the ‘additional security verification’ before enabling MFA by selecting the ‘additional security verification’ link.
- Log in with you StarID credentials.
- Students: [StarID]@go.minnstate.edu
- Faculty/Staff: [StarID]@minnstate.edu
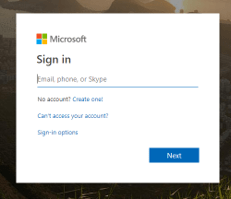
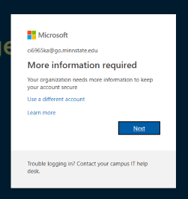
- Once signed in, you will be prompted to provide more security information to your account. Click ‘Next’
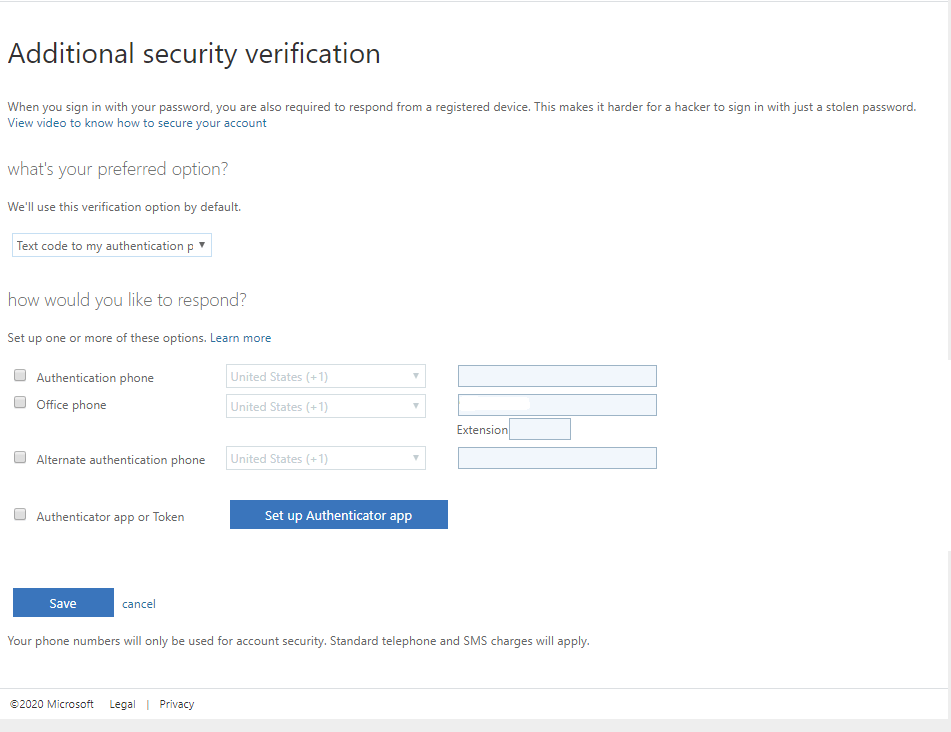
- Choose your default verification option:
Under “what’s your preferred option?” select Notify me through app or Use Verification code from app or token.
- Notify me through app will send you an Approve/Deny request when additional verification is required.
- Use Verification code form app or token will require you to open the authenticator app and type in the code when additional verification is required.
- Choose your backup verification methods
- Select Authentication Phone and enter a phone number that is different from the listed Office Phone (listed below).
- If you have an office phone number assigned to you, Select Office Phone.
- Select Alternate authentication phone and enter a phone number different from any number listed previously, if available. This is a backup phone number if you cannot be reached at the Authentication Phone number.
- Select Authenticator app or Token.
- Click the Set up Authenticator app button.
Configure Microsoft Authenticator
- From the first drop down, select Notify me through app.
- On the Microsoft Authenticator app, click Add Accounts and then Work or School account.
- The app will ask for permission to use your camera, click Allow. Then you simply need to scan the QR code on your computer screen and you are done!
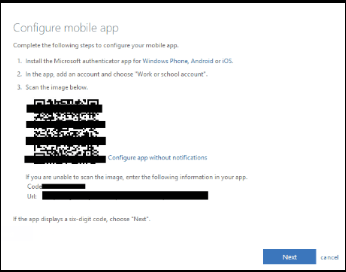
- Click Next.
- Click Save.
- Close Browser Tab to return to the Multi Factor Authentication Request browser tab.
- Click on ‘Enable MFA’